Choose your Image
If this is your first time working with Pantavisor, we recommend you to get back to the Raspberry Pi get-started guide, which follows a more step-by-step approach for beginners. If you cannot get your hand into either a Raspberri Pi 3 B+ or a Raspberri Pi 4, or if you have already completed the get-started guide and you want to move forward to other boards, this tutorial is for you.
First step is to choose and download the image that you are going to use. If you prefer to build your own images, just skip this page and move on to boot it up.
Download Initial Image
Initial images come with the Pantavisor BSP plus a set of Linux-based containers that provide basic network connectivity, discovery services and development tools. There are two options for downloading them:
From Pantacor Hub
This option requires registration in Pantacor Hub. After that, visit the Pantavisor image download page.
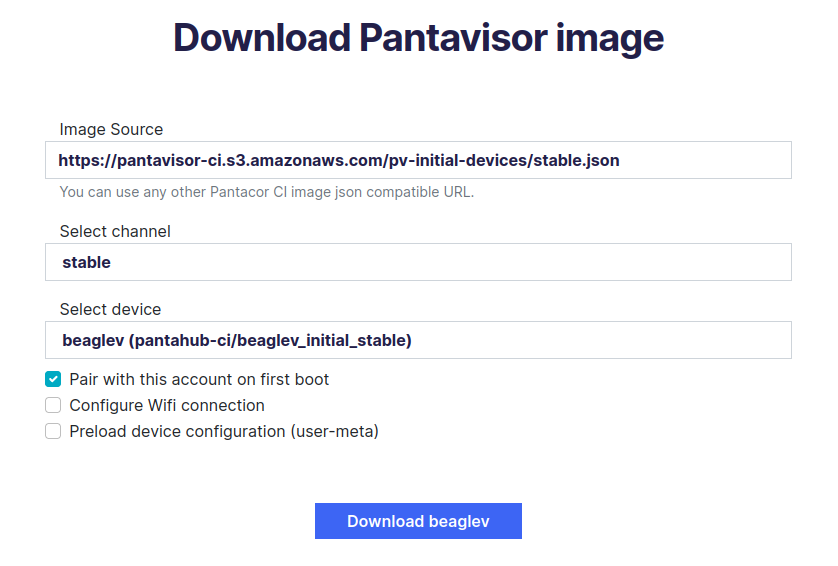
From there, you can select device and channel. Additionally, the download page offers options for personalizing your image (only supported on the Raspberry Pi targets):
Pair with this account on first boot: Select this to avoid to manually claim your deviceConfigure Wifi connection: Select this to insert WiFi credentials so the device can connect to your networkPreload device configuration (user.meta): Select this to add default user meta to your device
Non-Registering Option
If you prefer not to register, you can directly use a generic image from our download page.
Just choose a version, a target architecture, and click on the download link.