Image Setup
First step is to download and flash our pre-compiled image.
Download Initial Image
Initial images come with the Pantavisor BSP plus a set of Linux-based containers that provide basic network connectivity, discovery services and development tools. As with any other of our initial images, there are two options for downloading them:
From Pantacor Hub
This option requires registration in Pantacor Hub. After that, visit the Pantavisor image download page.
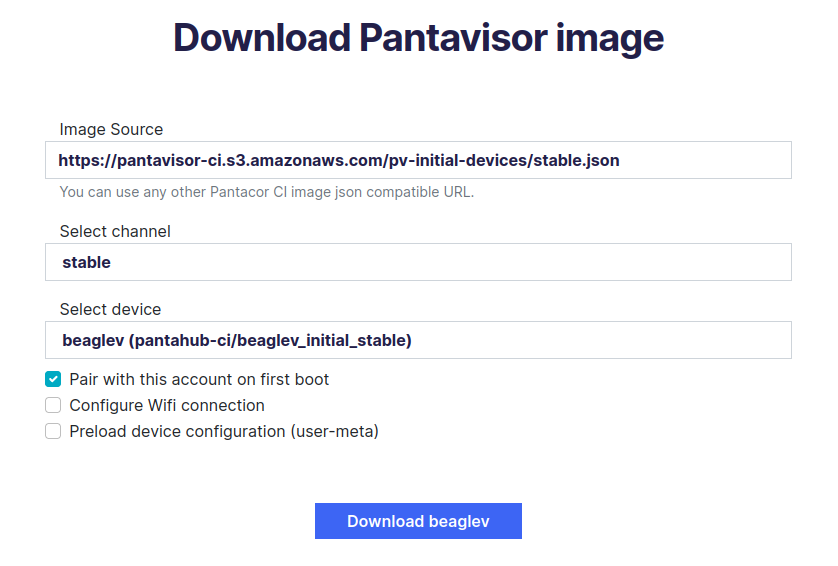
Select your Raspberry Pi device, the stable channel and Pair with this account on first boot. Optionally, select Configure Wifi connection to make further configuration steps easier.
Non-Registering Option
If you prefer not to register, you can directly use a generic image from our download page.
Now find and download your Raspberry Pi version in the stable initial images list.
Flash initial image
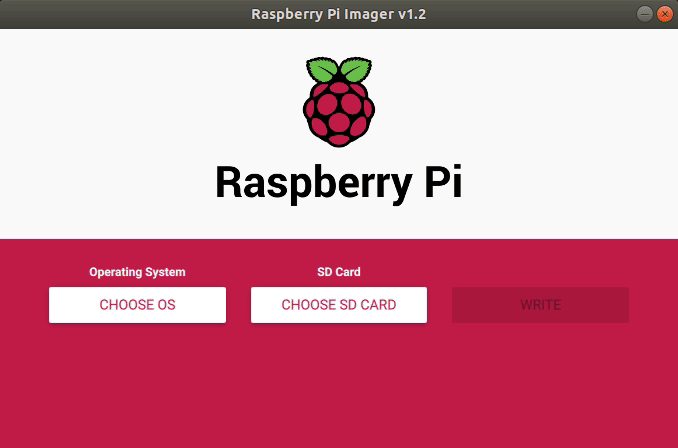
For most users, the Raspberry Pi Imager, which is available for Linux, Mac OS and Windows, can flash our Pantavisor Image on to a micro SD card. Alternatively, check out the command line instructions for Linux and Mac OS to flash your device without additional software requirements.
Raspberry Pi Imager
- Download the Raspberry Pi Imager.
- Select the initial image downloaded previously.
- Select your micro SD card and click write.
Linux commands
Firstly, find the SD card device name using df:
df -h
Then, you can use the dd tool following these steps (remember to substitute /dev/sdX for the device node corresponding to your SD card, or else you will overwrite the wrong device!):
umount /dev/sdX*
gunzip -c  arm-rpi3.img.gz | sudo dd of=/dev/sdX bs=32M
sync
Mac OS commands
For the Mac OS, the first step is to manually extract the rpi3_initial_stable.img.xz file. Then, find the SD card device name by opening a terminal and running the following command:
df -h

You can see on the bottom a 15 GB disk /dev/disk3 is mounted on /Volimes/BOOT.
Unmount it and flash it with the dd tool (remember to substitute /Volumes/BOOT and /dev/disk3 for the device node corresponding to your SD card):
diskutil umount /Volumes/BOOT

sudo dd if=arm-rpi3.img of=/dev/disk3 bs=32m
sync

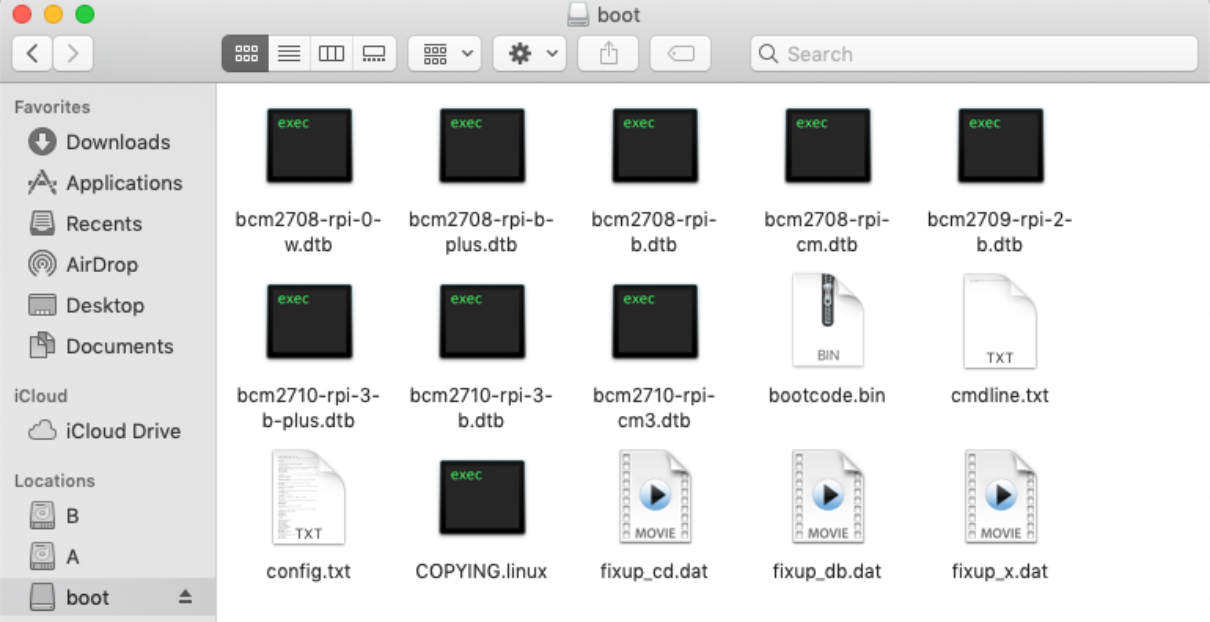
Verify the image contents by opening the SD card partition named boot: